Vintage Santa Claus Digital Papers: A Guide to Avoiding Common Pitfalls in Your Holiday Projects
The holiday season brings a surge of creative energy, and for many crafters, designers, and small business owners, the quest for the perfect aesthetic is never-ending. Among the most popular choices for festive designs are Vintage Santa Claus Digital Papers. These digital assets offer a nostalgic charm that modern, glossy graphics often lack. However, while the visual appeal is undeniable, there is a significant gap between simply downloading a pack and successfully integrating it into professional or high-quality personal projects. Many users overlook critical technical details, leading to frustrating results during printing or web implementation.
This guide aims to help you navigate the world of vintage Christmas backgrounds effectively. By understanding the nuances of file formats, resolution requirements, and design compatibility, you can ensure that your scrapbooks, invitations, and digital products look as polished as you intend them to be. The goal is not just to use these papers, but to use them wisely.
Understanding the Product: What You Are Actually Getting
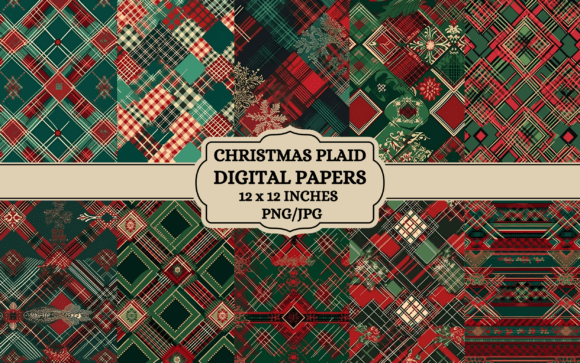
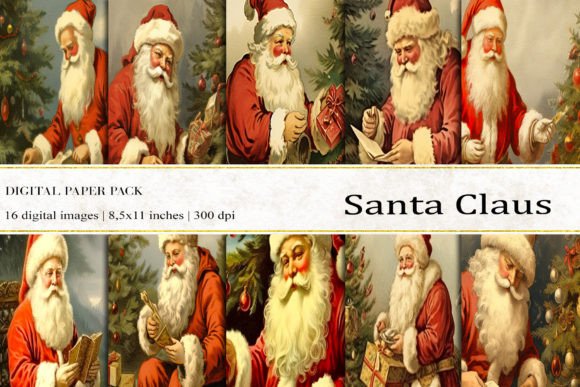
When browsing marketplaces for Vintage Santa Claus Scrapbook elements, it is easy to get lost in the variety of options. A typical set might advertise itself as a "Christmas Plaids Digital Papers set" containing 16 unique designs. It is crucial to verify exactly what specifications accompany this promise. A standard, high-quality offering usually includes files sized at 8.5×11 inches, which corresponds to standard US Letter paper dimensions. This size is versatile, allowing for immediate use in home printers without complex cropping.
Furthermore, the format matters immensely. Most reputable sellers provide these images in JPG format. While JPGs are universally compatible with almost every software from Microsoft Word to Adobe Photoshop, they are compressed files. This compression is convenient for quick downloads but requires attention when scaling up. Additionally, the resolution should be 300 dpi (dots per inch). This is the industry standard for print quality. If you encounter a set advertised as "digital papers" but only offers 72 dpi images, those files will appear pixelated and blurry if printed at any reasonable size. Always check the metadata or product description to confirm the DPI before purchasing.
Common Mistakes in Selection and Usage
Even experienced creators can fall into traps when working with themed digital backgrounds. One of the most frequent errors is ignoring the aspect ratio and scale. Because these papers are typically provided in 8.5×11 inch increments, using them for larger projects, such as full-page banners or large-format posters, without proper upscaling tools can result in a loss of clarity. Vintage textures often rely on subtle grain and noise; when stretched beyond their native resolution, these details become muddy artifacts rather than charming design elements.
Another oversight involves color profiles. Digital screens display colors in RGB (Red, Green, Blue), while printers use CMYK (Cyan, Magenta, Yellow, Key/Black). A vibrant red Santa suit or a deep green plaid pattern may look stunning on your monitor but appear dull or washed out when printed. If you are creating physical items like planner stickers, invitations, or home decor items, you must account for this shift. Failing to convert your color profile or adjust brightness before sending files to a printer can lead to disappointing final products.
Users also frequently underestimate the importance of layering. A common mistake is placing text directly over a busy vintage plaid or intricate Santa pattern without sufficient contrast. This reduces readability and makes the design look amateurish. Instead of fighting the background, successful designers treat the paper as a texture layer, adding semi-transparent overlays or solid-colored text boxes to ensure legibility.
Evaluating Quality Before You Buy
To avoid wasting money on low-quality assets, take a moment to evaluate the preview images provided by the seller. Look closely at the edges of the patterns. Seamless repeats should align perfectly without visible seams or jarring breaks. In a well-crafted Vintage Santa Claus Digital Papers set, the transition between tiles should be invisible, allowing you to create continuous backgrounds for websites or large-scale prints.
Check for consistency in style. A cohesive set will share a unified color palette and texture quality. For instance, if one paper features a crisp, clean vector-style Santa while another looks like a faded, scanned photograph from 1950, the collection lacks cohesion. Mixing these disparate styles can result in a disjointed final project. Ensure that all 16 papers in the set complement each other, whether they are focused on plaids, polka dots, or character illustrations.
Additionally, consider the licensing terms. As a creator, entrepreneur, or freelancer, you need to know how you can use these assets. Some licenses restrict commercial use, meaning you cannot use the papers on products you sell, such as web graphics, business cards, or fabric printing. Others may allow unlimited commercial use but prohibit resale of the digital files themselves. Read the fine print to ensure your intended use case—whether it is for a client’s holiday card or your own online store—is permitted.
Practical Applications and Best Practices
Once you have selected a high-quality set, the possibilities for application are vast. Here are some practical ways to integrate these papers into your workflow while avoiding common pitfalls:
- Scrapbooking and Photo Albums: Use the papers as digital backgrounds for photos. To enhance the vintage feel, add a subtle vignette effect around the edges of your photos. This draws the eye inward and integrates the image seamlessly with the background.
- Web Design and Blogging: When using these papers for web graphics or blog headers, optimize the file size. Large 300 dpi JPGs can slow down page load times. Resize the images to the exact dimensions needed for your layout and compress them using tools like TinyPNG to maintain speed without sacrificing too much visual quality.
- Stationery and Invitations: For letterhead and stationary, ensure there is enough white space or solid color areas for writing or typing. Busy patterns can make handwritten notes difficult to read. Consider using the pattern as a border or footer rather than a full-page background.
- Planner Stickers: When designing planner stickers, cut out specific elements from the papers, such as individual Santa figures or snowflakes, rather than using the entire sheet. This allows for greater flexibility in layout and prevents the sticker from looking cluttered.
For those interested in physical production, such as fabric printing or custom craft projects, always order a test print first. Colors on fabric react differently than ink on paper. A dark navy plaid might turn black on certain fabrics, altering the entire mood of the design. Testing ensures that the final product matches your vision.
Conclusion
Working with Vintage Santa Claus Digital Papers offers a wonderful opportunity to add warmth and nostalgia to your creative endeavors. By paying close attention to technical specifications like resolution and color profiles, checking for style consistency, and understanding licensing restrictions, you can avoid costly mistakes and produce high-quality results. Whether you are a hobbyist decorating your home or a professional designer crafting holiday campaigns for clients, treating these digital assets with respect and precision will elevate your work. Remember, the best designs are not just visually appealing but are built on a foundation of technical accuracy and thoughtful planning.